Graduation season is upon us, and finding the perfect gift to celebrate this milestone can be challenging. Look no further! A money lei is not just a thoughtful present; it’s a fun, creative, and highly customizable way to give a gift that every graduate truly appreciates – cash! This DIY money lei guide will walk you through creating a memorable and impressive graduation gift that stands out.
 Easy Money Lei
Creating a money lei is easier than you might think, and it adds a personal touch that store-bought gifts often lack. Imagine the graduate’s delight as they receive a beautifully crafted lei made of money, reflecting both your effort and generosity. This guide breaks down the process into simple steps, ensuring even crafting novices can create a stunning money lei.
Supplies You’ll Need for Your DIY Money Lei
Before you start crafting your unique money lei, gather these readily available supplies:
- Money: Decide on the amount you wish to gift. Consider using a mix of denominations for visual appeal. For a fuller lei, 25 or more bills are recommended, but you can adjust based on your budget and desired length. Fresh, crisp bills make folding easier and the lei look more polished.
- Decorative Paper (Optional): Colored or patterned paper matching the graduate’s school colors or favorite hues adds a personalized touch. Cut paper slightly smaller than your bills if using.
- Beads (Optional): Beads add weight, structure, and decorative flair. Choose beads in school colors, clear beads for a subtle sparkle, or fun, themed beads.
- String or Ribbon: Curly ribbon, fishing line, or any sturdy string will work. Curly ribbon adds a festive touch and is easy to work with. Approximately 8 feet of string provides ample length, but you can adjust as needed.
- Scissors: For cutting paper and ribbon.
- Tape: Clear tape or double-sided tape for securing folds discreetly.
Step-by-Step Guide to Folding Your Money Bills
The key to a beautiful money lei lies in the neat folding of the money bills. Accordion folding is the most common and visually appealing method.
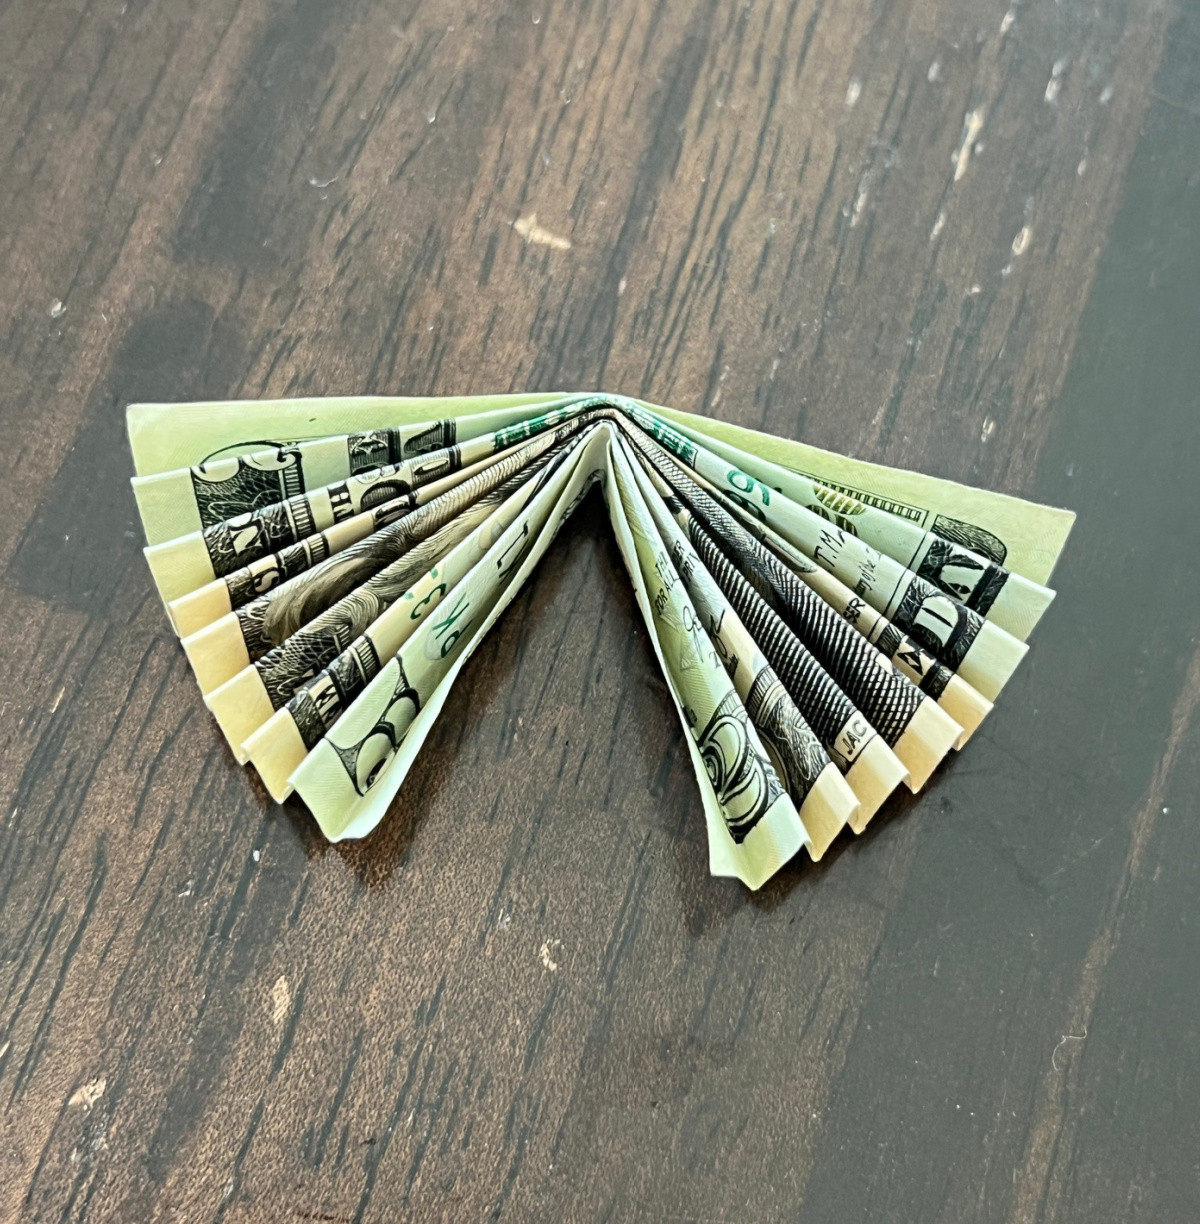
- Accordion Fold: Begin by accordion-folding each bill (and paper, if using). Start with a small fold, flip the bill, fold in the opposite direction, and continue alternating folds until the entire bill is folded into a strip.
- Fold in Half: Once accordion folded, fold the bill in half to find the center.
- Secure the Ends: Use a small piece of tape to bring the two outer ends of the folded bill together, creating a semi-circular or rounded shape.
- Repeat: Repeat this folding process for all your money bills and paper pieces.
 Money Lei
Assembling Your DIY Money Lei
With your folded money ready, the assembly process is straightforward and enjoyable.
- Prepare the String: Cut your string or ribbon to the desired length (around 8 feet is a good starting point).
- Start with a Bead (Optional): Thread a bead onto the center of your string. This bead acts as a starting point and central anchor.
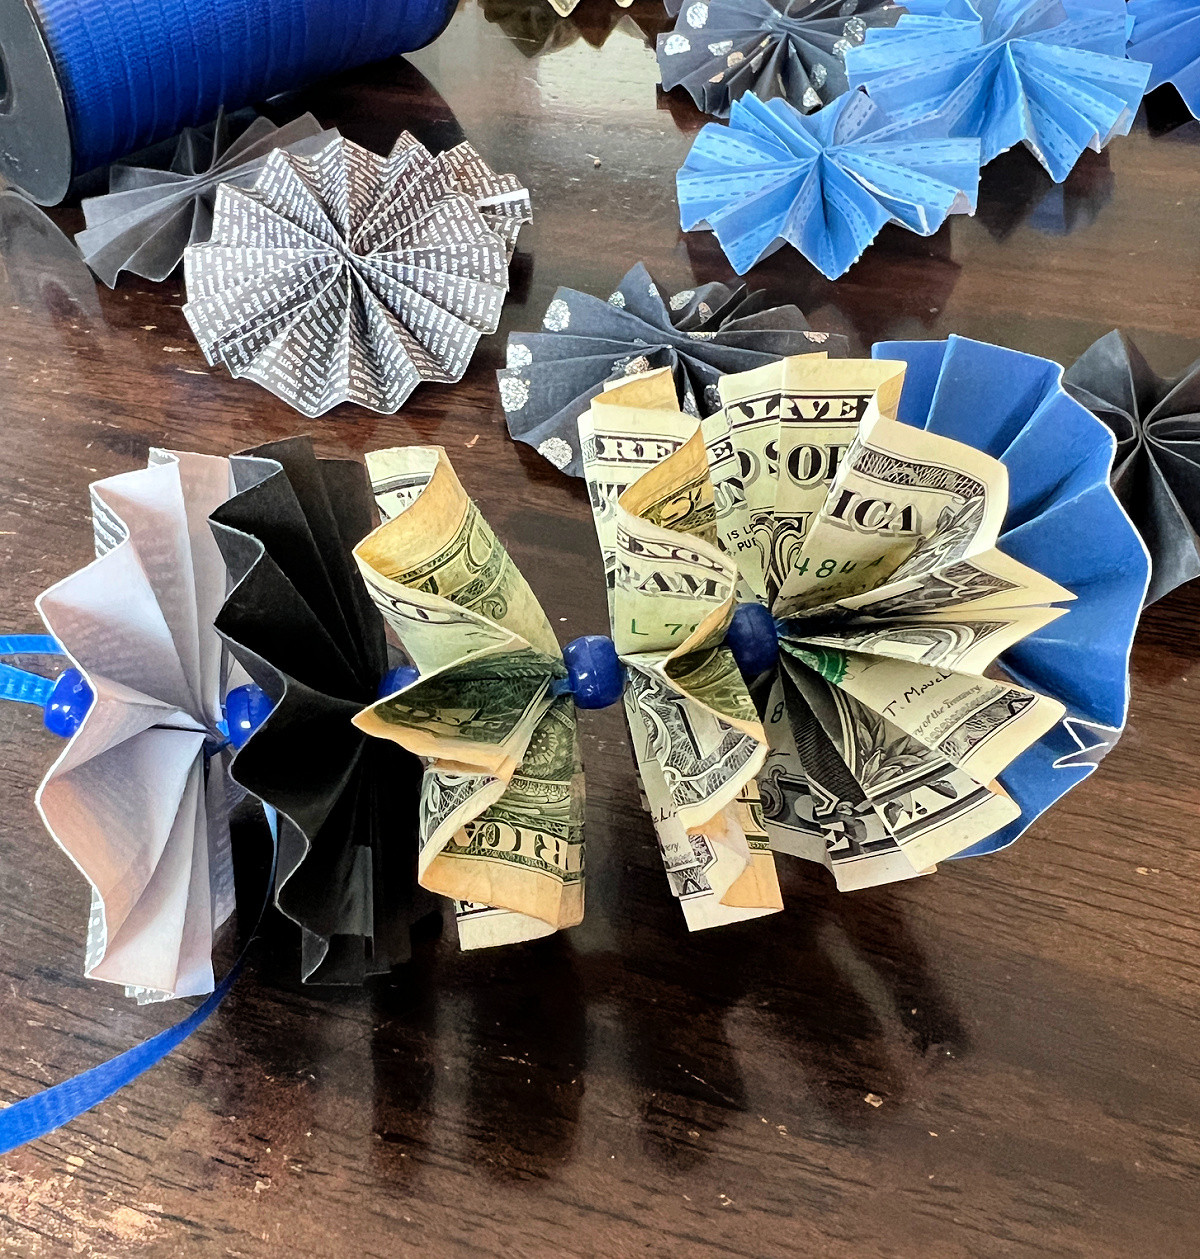
- Create Your Pattern: Decide on your pattern. You can alternate money folds with paper folds or create sequences like three money folds followed by three paper folds. Experiment to find a pattern you love.
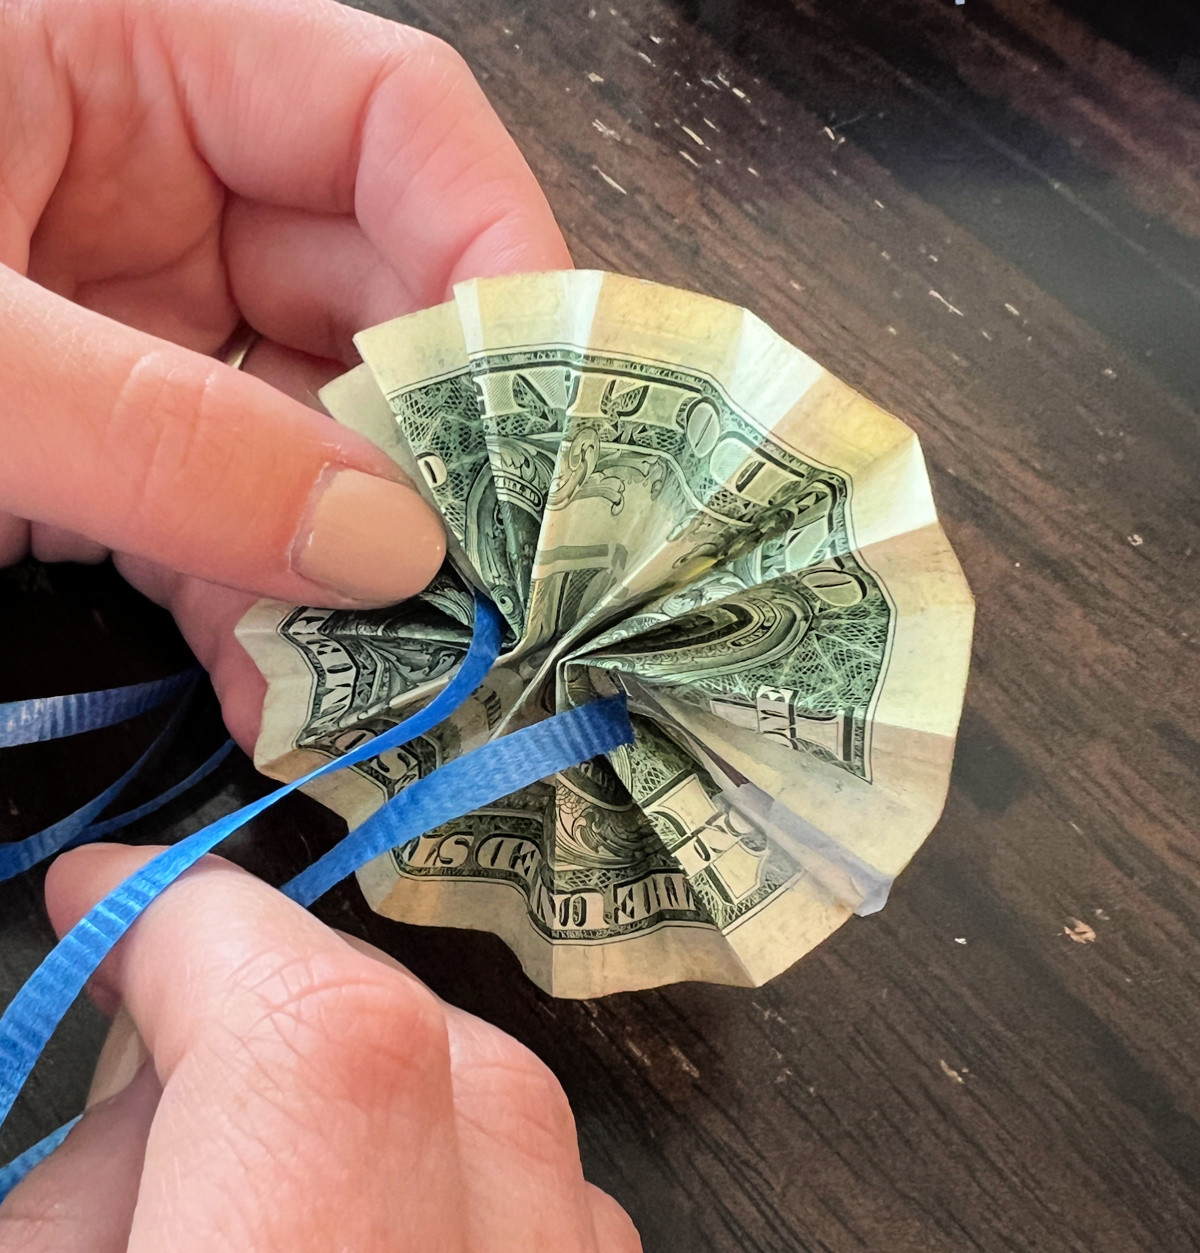
- Thread the Folds: Locate the two openings in the center of your folded money (or paper) piece. Take one end of your string and thread it through one opening, and then thread the other end of the string through the other opening. Slide the fold down the string until it reaches the starting bead (if used).
- Add a Bead Between Folds (Optional): After adding a folded piece, thread both ends of the string through another bead. This bead will sit between your folded pieces, providing separation and visual interest.
- Tighten and Repeat: Pull the string tight after each bead to secure the fold in place and maintain the lei’s structure.
- Continue the Pattern: Repeat steps 4-6, alternating between adding folded money/paper pieces and beads according to your chosen pattern, until you’ve used all your prepared folds.
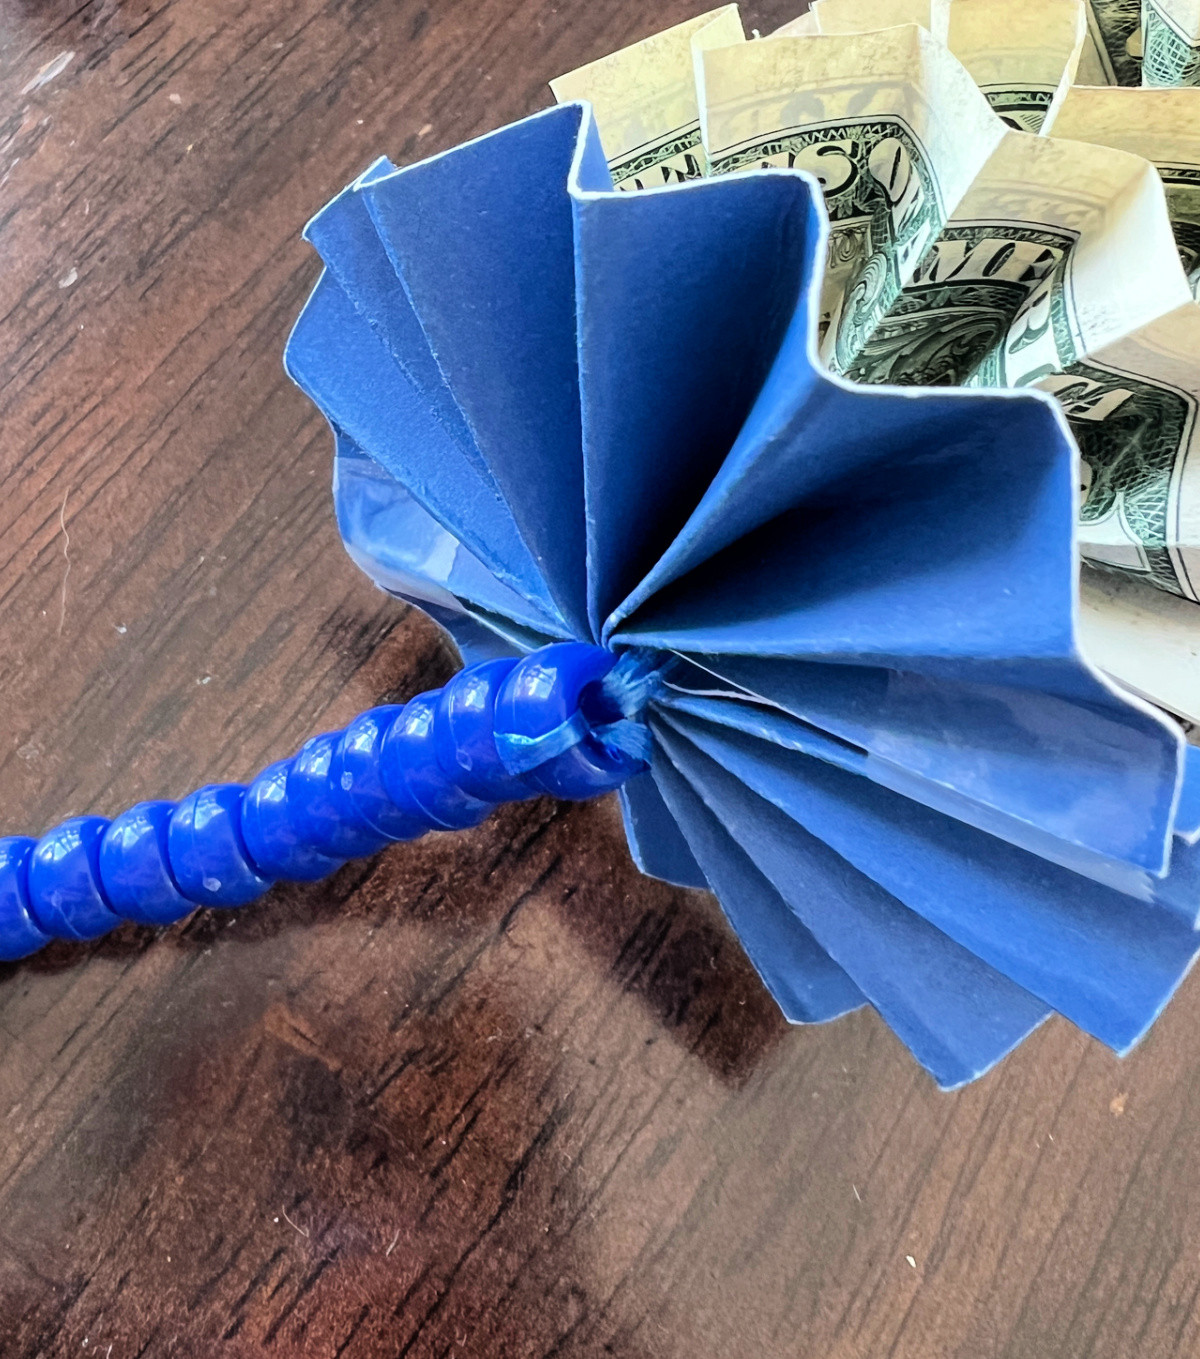
- Finishing Touches: You can finish your money lei with additional beads at each end for a polished look. Leave some extra string at both ends for tying.
- Tie the Ends: Tie the two ends of the string together securely, connecting the lei into a circle. Ensure it’s not too tight so it hangs comfortably.
 Graduation Money Lei
 Easy DIY Graduation Lei
 Fun Money Lei
Tips for Customizing Your Money Lei
Make your money lei truly special with these customization ideas:
- School Colors: Incorporate the graduate’s school colors through paper, beads, and ribbon.
- Bill Denominations: Use a variety of bill denominations ($1, $5, $10, $20) to create a visually interesting and valuable gift.
- Personalized Beads: Add beads with letters to spell out the graduate’s name or graduation year.
- Themed Decorations: Include small, lightweight graduation-themed charms or embellishments.
- Presentation Matters: Present the money lei in a decorative box or gift bag to enhance the gifting experience.
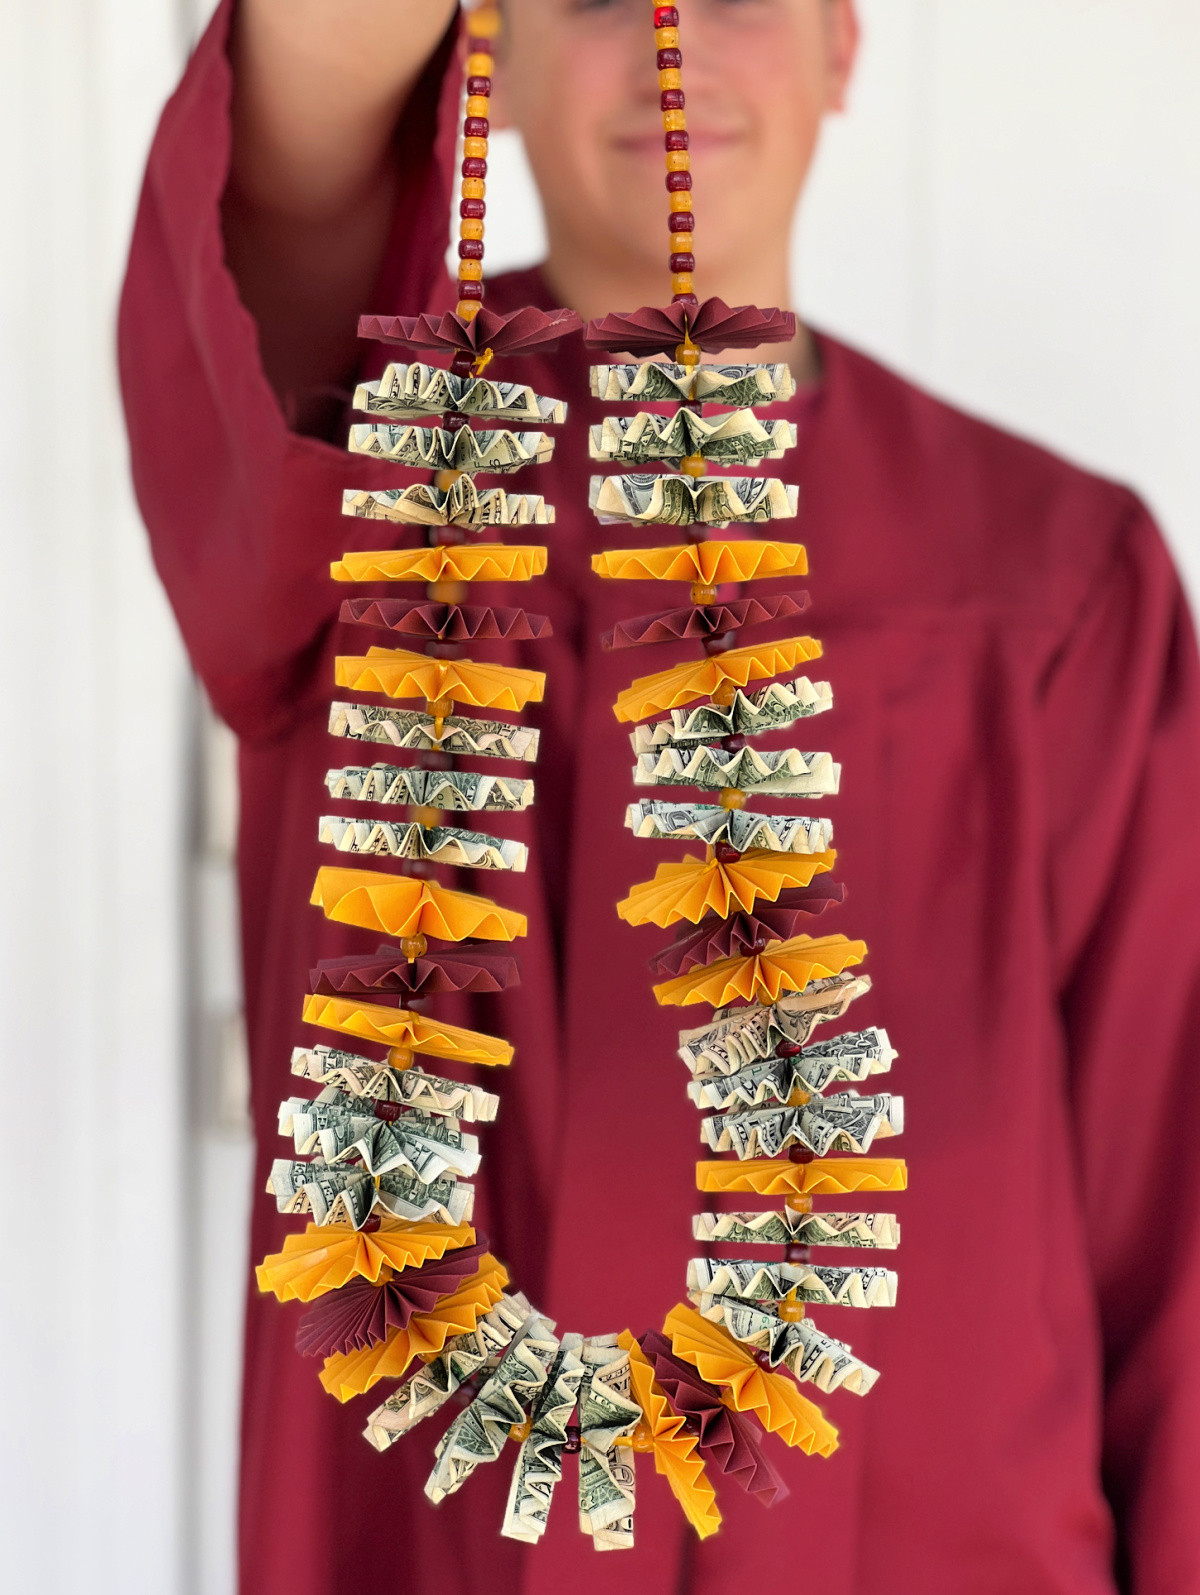 Fun Money Lei
Conclusion: A Memorable and Practical Graduation Gift
A DIY money lei is more than just a gift of cash; it’s a symbol of celebration, effort, and personalization. It’s a fun craft project that results in a practical and highly appreciated graduation present. By following this guide, you can create a unique and memorable money lei that any graduate will be thrilled to receive. Get creative, have fun, and give the gift of cash in a truly special way!
